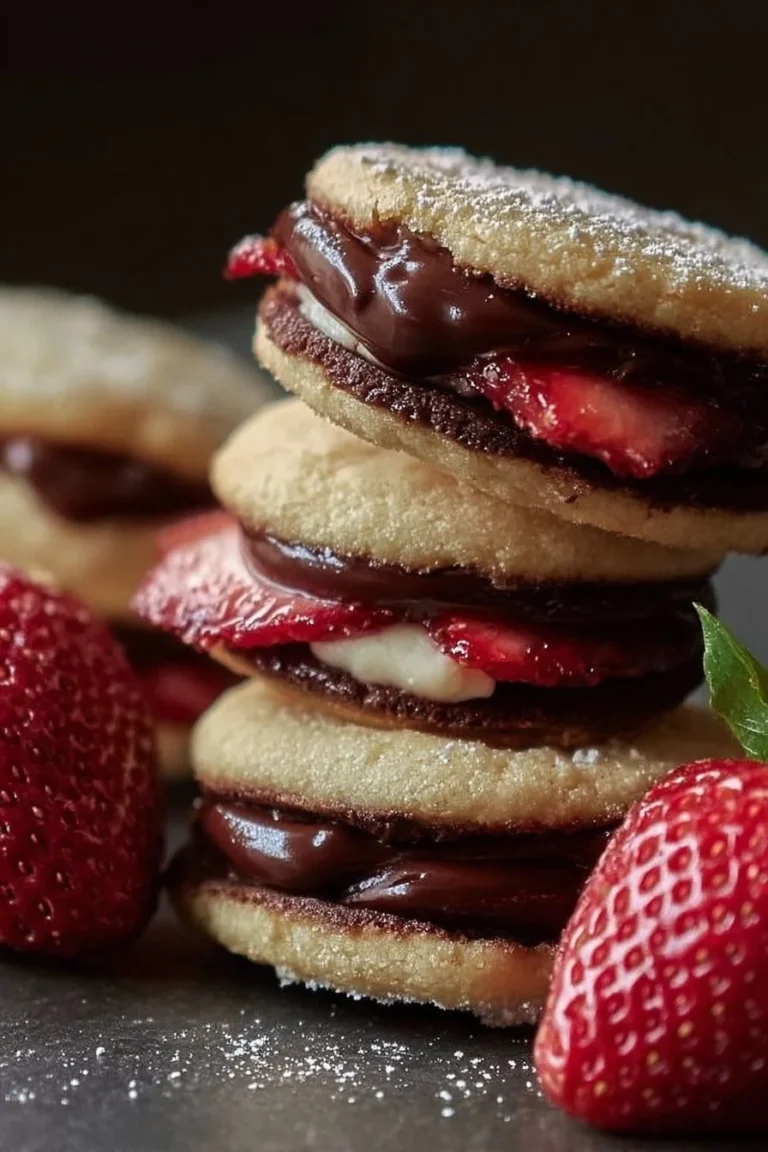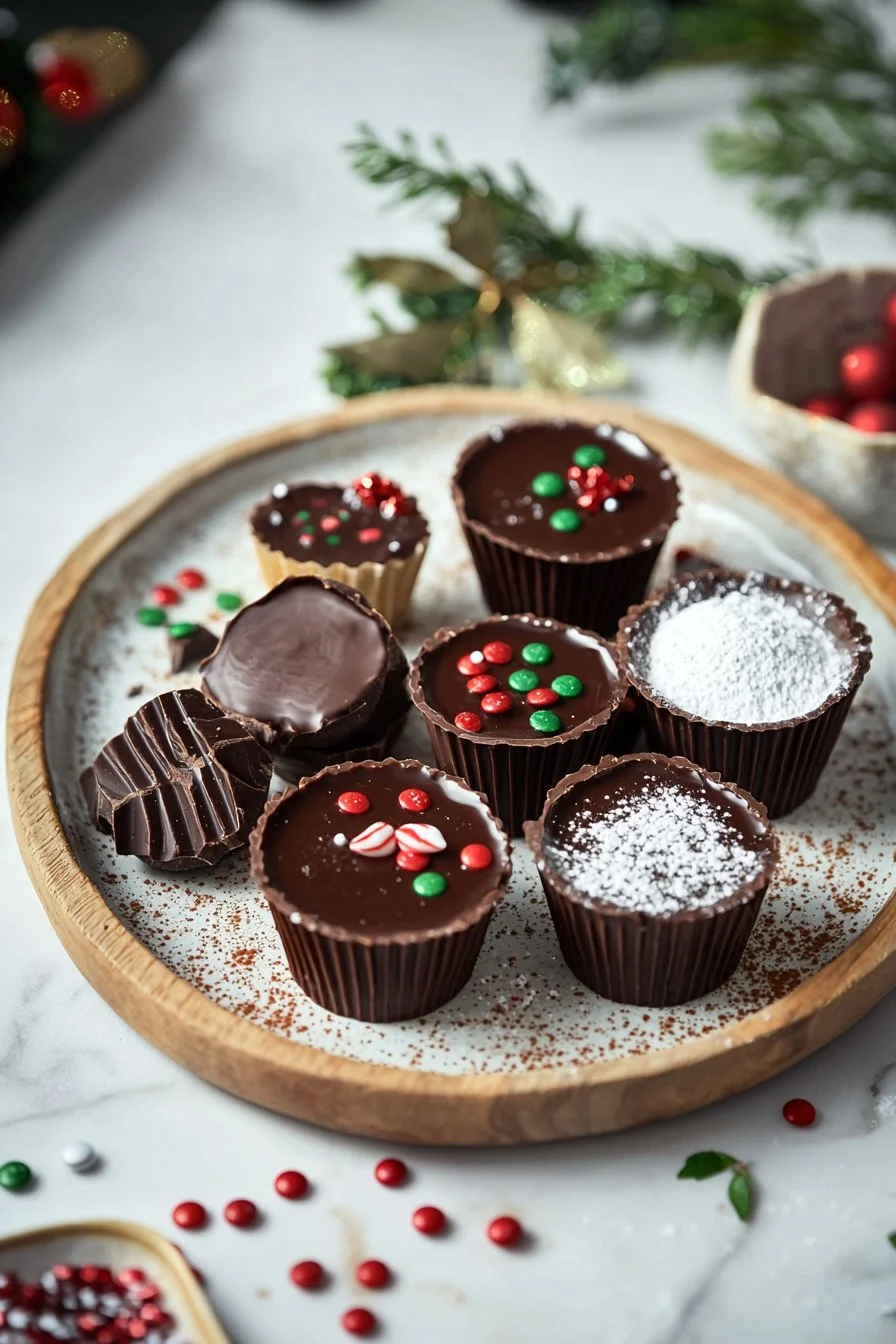
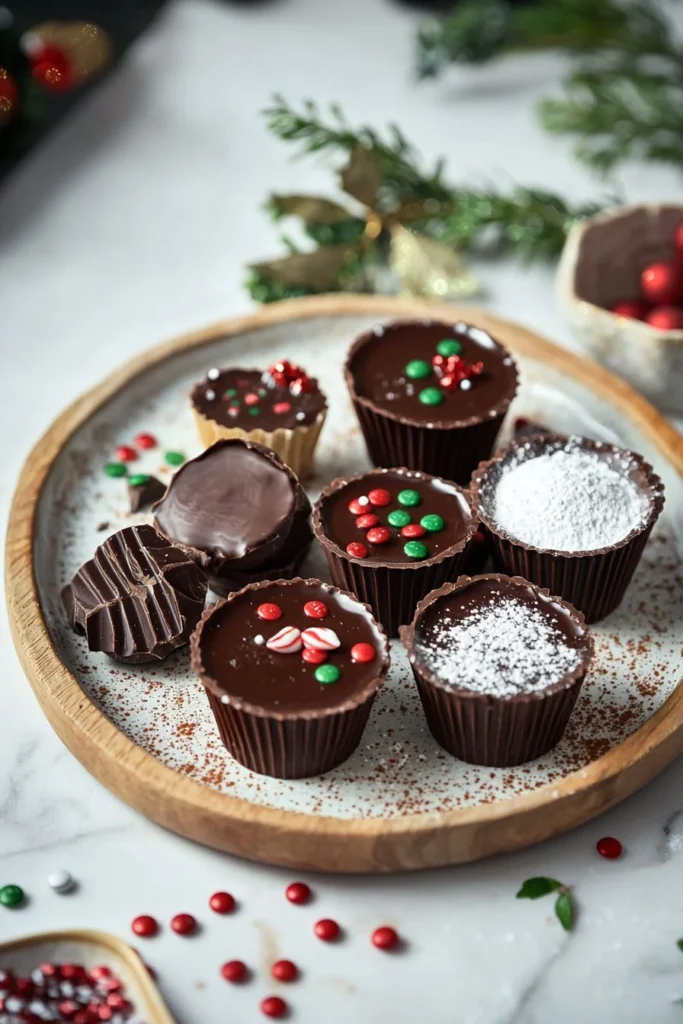
Christmas Chocolate Cups
Who can resist a delightful chocolatey treat that brings joy and sweetness to family gatherings? These Christmas Chocolate Cups are more than just a dessert; they’re a burst of joy in every bite! Imagine sinking your teeth into a smooth, rich chocolate shell that melts in your mouth, revealing a luscious, creamy filling that’s just as decadent. Not only do they taste fantastic, but making these delightful cups can also be a fun family activity. Picture this: everyone in the kitchen, rolling up their sleeves, with smiles all around while crafting these sweet creations! Best of all, they’re simple to whip up, making them a perfect addition to your holiday spread. If you’ve enjoyed my popular no-bake cheesecake recipe, you’ll find that these chocolate cups offer a similarly pleasing yet entirely unique experience that’s sure to impress everyone around your table.
What is Christmas Chocolate Cups?
Now, you might be wondering where the name “Christmas Chocolate Cups” comes from. Is it because they bring the festive spirit? Or maybe because they’re as sweet as the holiday season? Who knows! Maybe it’s just because everyone knows that the way to a man’s heart is through his stomach—and these cups will definitely do the trick! Picture your loved ones gathered around, indulging in these delicious bites, and sharing laughter and love. So why not grab your apron and let’s make some edible magic happen? Trust me; you won’t want to miss out on this!
Why You’ll Love This Christmas Chocolate Cups
There are three fantastic reasons to whip up these Christmas Chocolate Cups during your next family gathering. First off, the rich and smooth texture of dark chocolate combined with the sweet and creamy filling creates an unforgettable flavor experience. Secondly, making these cups at home saves a pretty penny compared to store-bought confectionery—more treat time and less financial worry! Lastly, these little jewels can be topped with festive sprinkles or delicious candies, allowing for a fun and creative flair that can set them apart from your average dessert. If you’re a fan of chocolate truffles, then these cups offer that same indulgent experience but with an exciting twist! Ready to create your festive masterpiece? Let’s dive in!
How to Make Christmas Chocolate Cups
Quick Overview
Creating Christmas Chocolate Cups is easy and satisfying! The satisfying crunch of the chocolate shell coupled with a smooth, dreamy filling makes for a delightful dessert that will satisfy any sweet tooth. Plus, the preparation time is a breeze—you’ll need only about 30 minutes to get everything ready, plus some chilling time!

Ingredients
Here’s what you’ll need to make your delicious Christmas Chocolate Cups:
- 1 cup dark chocolate (about 60-70% cocoa)
- 1/2 cup heavy cream
- 1/4 cup powdered sugar
- 1 teaspoon vanilla extract
- Christmas-themed toppings (e.g., festive sprinkles or small edible candies)
Step-by-Step Instructions
- Melt the Chocolate: Start by finely chopping your dark chocolate. Place it in a microwave-safe bowl and heat it in short bursts of 20 seconds, stirring in between until completely melted and smooth. Be careful not to overheat!
- Prepare the Molds: Using a silicone cupcake mold or mini muffin tin, use a brush or the back of a spoon to coat the inside with the melted chocolate, ensuring an even layer. You can create a thicker shell by repeating this step twice. It’s okay to leave some of the melted chocolate for the topping later!
- Chill the Shells: Place the chocolate-coated molds in the refrigerator for about 10-15 minutes until firm.
- Make the Filling: In a small saucepan, heat the heavy cream over medium heat until it just begins to simmer. Remove from heat and whisk in the powdered sugar and vanilla extract until smooth. Allow this mixture to cool slightly.
- Fill the Cups: Once the chocolate shells are firm, carefully fill them with the creamy mixture, leaving a small amount of space at the top for the final chocolate layer.
- Top with More Chocolate: Reheat any remaining melted chocolate and carefully pour it over the tops of each filled cup to seal them.
- Final Chill: Return the molds to the refrigerator for another 20-30 minutes until everything is fully set.
- Unmold and Enjoy: Gently remove the cups from the molds, and top with festive sprinkles or candies if desired. Your Christmas Chocolate Cups are now ready for enjoyment!
Top Tips for Perfecting Christmas Chocolate Cups
Here are some pro tips to ensure your Christmas Chocolate Cups turn out perfectly every time:
- Substitutions: If you’re looking for a dairy-free alternative, consider using coconut cream instead of heavy cream. The rich flavor works beautifully!
- Avoid Common Mistakes: Ensure the melted chocolate cools slightly before pouring it into molds to prevent it from becoming too thick to spread.
- Timing: Be patient when chilling; the longer you chill, the better the texture of your chocolate cups!
Storing and Reheating Tips
To keep your Christmas Chocolate Cups fresh, store them in an airtight container in the refrigerator for up to 1 week. If you want to enjoy them later, you can freeze them for up to a month. To maintain the original taste and texture, allow them to thaw in the refrigerator overnight before serving. Enjoy these delightful treats without worry—they’re bound to be a hit!
Now that you’re armed with everything you need to create these spectacular Christmas Chocolate Cups, it’s time to gather your loved ones and get started! These delightful treats will not only satisfy your cravings but also make lasting memories with every batch you create. Happy cooking!
Christmas Chocolate Cups
Ingredients
Method
- Finely chop the dark chocolate and place it in a microwave-safe bowl.
- Heat the chocolate in short bursts of 20 seconds in the microwave, stirring in between until completely melted and smooth.
- Using a silicone cupcake mold or mini muffin tin, coat the inside with the melted chocolate using a brush or spoon, ensuring an even layer.
- Chill the chocolate-coated molds in the refrigerator for about 10-15 minutes until firm.
- In a small saucepan, heat the heavy cream over medium heat until it begins to simmer.
- Remove from heat and whisk in the powdered sugar and vanilla extract until smooth, allowing it to cool slightly.
- Carefully fill the firm chocolate shells with the creamy mixture, leaving space at the top for the final chocolate layer.
- Reheat any remaining melted chocolate and pour it over the tops of each filled cup to seal.
- Return the molds to the refrigerator for another 20-30 minutes until fully set.
- Gently remove the cups from the molds and top with festive sprinkles or candies if desired.
- Your Christmas Chocolate Cups are now ready for enjoyment!