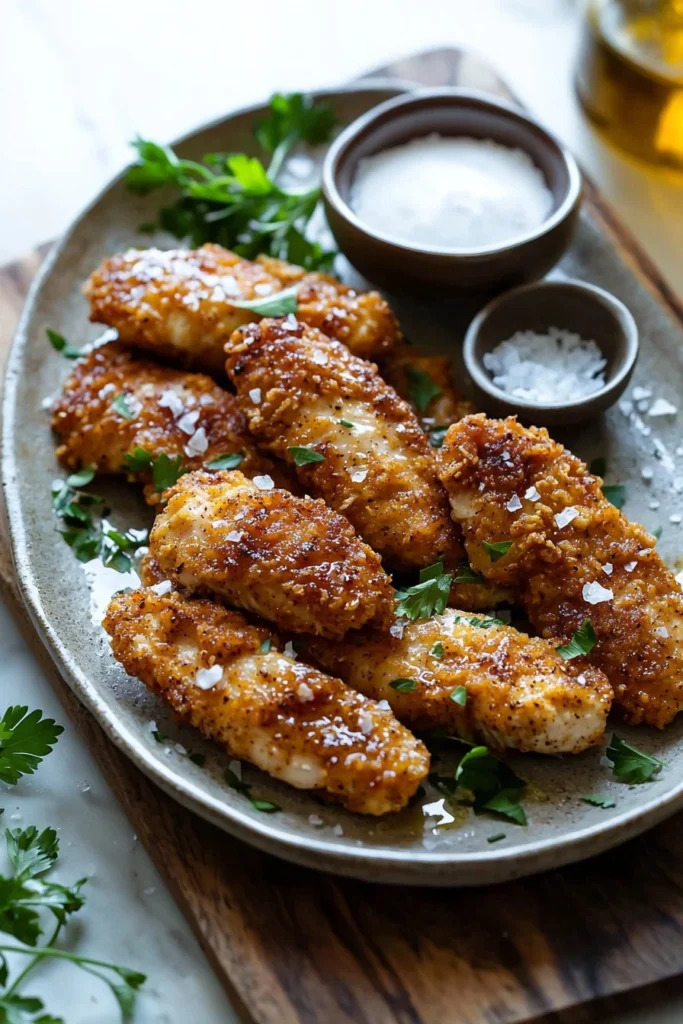
Buttermilk Chicken Tenders
When it comes to family favorites, few recipes can compete with the irresistible allure of crispy Buttermilk Chicken Tenders. As you take your first bite, you’re greeted with a golden, crunchy exterior that gives way to tender, juicy chicken inside. It’s a texture and flavor explosion that simply feels like a warm hug on a chilly evening. I first discovered this recipe at a cozy family gathering where everyone raved about the delightful crunch and savory taste – it was love at first bite!
But what really sets these chicken tenders apart is how straightforward they are to prepare, making them perfect for busy weeknight dinners or casual family meals. Think about it: they’re like the cousins of those famous fried chicken recipes that pop up all over the internet, but with a light, refreshing twist that makes them stand out. If you love those comforting, crispy sensations just like I do, then you’re in for a treat. Let’s dive into this mouthwatering adventure!
What are Buttermilk Chicken Tenders?
So, why do we call these Buttermilk Chicken Tenders? Is it because they’re tender enough to melt in your mouth, or perhaps it’s all about that heavenly buttermilk marinade? Either way, one thing’s for sure: the way to a man’s heart is through his stomach, and these tenders have stolen many hearts! I remember the first time I whipped them up for a family gathering; the little ones flocked around the table, and I thought to myself, “Maybe I should start a chicken tender fan club!” So why not gather some loved ones and serve them this delicious dish?
Why You’ll Love This Buttermilk Chicken Tenders
Let’s be honest: there’s something magical about a plate piled high with Buttermilk Chicken Tenders. First and foremost, they’re an all-time main dish highlight that is sure to impress. You can serve them with a variety of flavorful toppings, from tangy dipping sauces to vibrant salads, making every bite a new taste adventure. Plus, cooking at home means you’ll save money while treating your family to restaurant-quality goodness.
Compared to a typical fast-food chicken nugget, these tenders pack in heaps more flavor and texture! Just imagine sinking your teeth into that crispy coating, feeling the crunch give way to juicy chicken. The best part? You can customize them to suit your family’s palates, so what’s stopping you? Grab your apron and let’s get cooking!
How to Make Buttermilk Chicken Tenders
Quick Overview
Preparing Buttermilk Chicken Tenders is simple and incredibly satisfying. With just a handful of ingredients, you can create a dish that astonishes your family and friends. You’ll experience a delightful contrast between the crispy outside and juicy inside, making it an instant hit. The entire preparation time takes about 30 minutes, so you won’t have to wait long for that scrumptious crunch!
Ingredients for Buttermilk Chicken Tenders
- 1 lb chicken tenders
- 1 cup buttermilk
- 1 cup all-purpose flour
- 1 tsp garlic powder
- 1 tsp paprika
- Salt and pepper to taste
- Oil for frying
Step-by-Step Instructions
- Marinate the Chicken: In a bowl, combine the buttermilk with a pinch of salt and pepper. Add the chicken tenders, ensuring they are fully submerged. Cover with plastic wrap and let them marinate in the refrigerator for at least 15 minutes (or up to overnight for extra tenderization).
- Prepare the Breading: In a separate bowl, mix the flour, garlic powder, paprika, salt, and pepper. This combination will create a beautiful crispy crust that packs a flavor punch!
- Heat the Oil: In a deep frying pan, pour in enough oil to reach about 1 inch deep. Heat over medium-high heat until hot but not smoking. You can test the oil by dropping a pinch of flour into it; if it sizzles, you’re good to go!
- Coat the Chicken: Remove the marinated chicken from the fridge and shake off any excess buttermilk. Dip each tender into the flour mixture, making sure they’re well coated.
- Fry the Chicken: Carefully lower the coated chicken tenders into the hot oil one at a time. Avoid overcrowding the pan, as this can lower the oil’s temperature. Fry for about 5-7 minutes on each side until they are golden brown and crispy.
- Drain and Serve: Once cooked, transfer the tenders to a plate lined with paper towels to drain excess oil. Serve hot with your favorite dips or toppings!
Top Tips for Perfecting Buttermilk Chicken Tenders
- Substitutions: If you want a gluten-free option, you can use gluten-free all-purpose flour instead of regular flour.
- Timing: Make sure the oil is hot enough before frying; otherwise, the chicken will absorb too much oil.
- Avoiding Common Mistakes: Don’t skip the marinating step! It makes a huge difference in flavor and tenderness.
Storing and Reheating Tips
If by chance you have leftovers, don’t worry – they’re just as delicious for lunch the next day. Store any uneaten Buttermilk Chicken Tenders in an airtight container in the refrigerator for up to 3 days. For long-term storage, you can freeze them; simply wrap them in foil then place them in a freezer-friendly bag for up to 2 months.
To reheat, place the tenders on a baking sheet and warm them in a preheated oven at 375°F (190°C) for about 10-15 minutes, or until they’re heated through. This method helps maintain their signature crunch!
Now that you’re equipped with everything you need to know, there’s no reason to wait! Wow your family and friends with your culinary skills by whipping up a delicious batch of Buttermilk Chicken Tenders today. Enjoy the flavorful experience!
Buttermilk Chicken Tenders
Ingredients
Method
- In a bowl, combine the buttermilk with a pinch of salt and pepper. Add the chicken tenders, ensuring they are fully submerged. Cover with plastic wrap and let them marinate in the refrigerator for at least 15 minutes or up to overnight for extra tenderization.
- In a separate bowl, mix the flour, garlic powder, paprika, salt, and pepper.
- In a deep frying pan, pour in enough oil to reach about 1 inch deep. Heat over medium-high heat until hot but not smoking.
- Remove the marinated chicken from the fridge and shake off any excess buttermilk. Dip each tender into the flour mixture, ensuring they’re well coated.
- Carefully lower the coated chicken tenders into the hot oil one at a time. Fry for about 5-7 minutes on each side until they are golden brown and crispy.
- Once cooked, transfer the tenders to a plate lined with paper towels to drain excess oil. Serve hot with your favorite dips or toppings.