Cheesy Garlic Breadsticks
Imagine sinking your teeth into a warm, gooey, and savory bite of Cheesy Garlic Breadsticks, where each strand is cloaked in melted cheese and an irresistible garlic aroma wafts through the air. These delightful treats are perfect for family gatherings, game nights, or simply for those cozy winter evenings when a comforting snack is all you crave. Fun fact: Did you know that garlic has been revered since ancient times not just for its flavor but also for its health benefits? This recipe is incredibly special because it’s not only simple to whip up, but it also brings everyone together around the table, creating a bonding experience that’s hard to replicate. If you’ve tried our popular recipe for Spinach and Cheese Stuffed Breads, then you’ll love how these Cheesy Garlic Breadsticks offer a warm, cheesy embrace that’s equally memorable.
What is Cheesy Garlic Breadsticks?
So, what exactly are Cheesy Garlic Breadsticks, you ask? Are they just long pieces of bread with some cheese? Well, yes and no! They’re not just a lazy snack; they’re a life-changing creation that brings smiles to your loved ones. Legend has it that the way to a man’s heart is through his stomach, and trust me, serving these heavenly cheesy treats will certainly seal the deal! Picture a fun-filled evening when everyone in the family gathers around, breaking apart these cheesy wonders and fighting over the last piece—oh, the drama! Now, aren’t you curious to try making some?
Why You’ll Love This Cheesy Garlic Breadsticks
First, let’s talk about versatility. Cheesy Garlic Breadsticks are not just a side dish; they can also be a pièce de résistance of any meal. Turn your pasta night into a feast; these breadsticks are the perfect accompaniment to your favorite marinara or Alfredo sauces. Plus, cooking at home saves you money while giving you the chance to impress your friends with your culinary skills. Imagine the fragrant scent of garlic butter wafting through the house, as mouthwatering as any restaurant.
Flavorful toppings? Yes! You can sprinkle on crushed red pepper, a dash of oregano, or even mix in some herbs for a custom touch—making it easier for you to adapt to anyone’s personal tastes. If you think about cheesy pizzas, how they delight every palate, then think of these breadsticks as pizza’s clever cousin, offering cheesy bliss in each bite—so go ahead, gather your ingredients and let’s bring this delicious dish to life!

How to Make Cheesy Garlic Breadsticks
Quick Overview
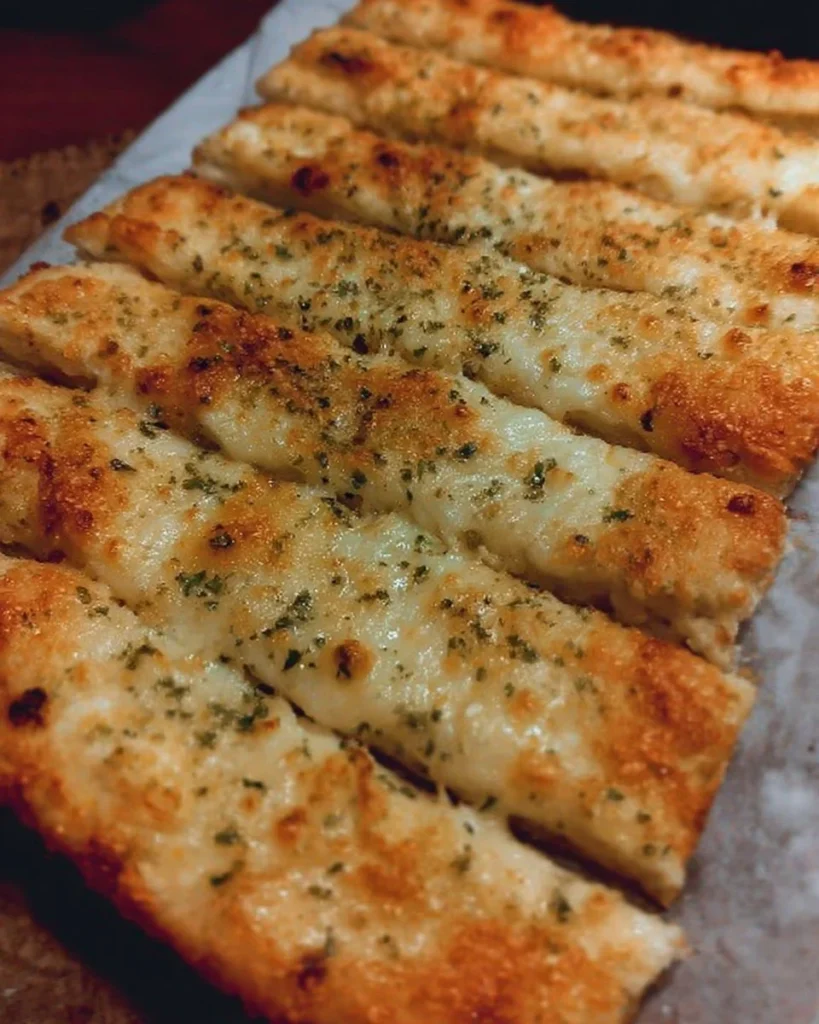
Making Cheesy Garlic Breadsticks couldn’t be easier! With a prep time of just about 15 minutes and cooking time of 15 minutes, you’ll have these delectable snacks ready in no time. The result? Breadsticks with a golden-brown exterior and a soft, cheesy inside—perfect for dipping into your favorite sauces or enjoying solo.
Key Ingredients for Cheesy Garlic Breadsticks
- 1 cup warm water (around 110°F or 43°C)
- 2 teaspoons sugar
- 2 teaspoons instant yeast
- 2 ½ cups all-purpose flour (plus extra for dusting)
- 2 tablespoons olive oil
- 1 teaspoon garlic powder
- ½ teaspoon salt
- 1 cup shredded mozzarella cheese
- ¼ cup grated Parmesan cheese
- 2 tablespoons unsalted butter (melted)
- Fresh parsley (for garnish, optional)
Step-by-Step Instructions
- Activate the Yeast: In a bowl, combine warm water, sugar, and instant yeast. Let it sit for about 5-10 minutes until it’s frothy.
- Mix the Dough: In a large mixing bowl, combine the flour and salt. Create a well in the center and add the yeast mixture along with olive oil. Stir until a dough forms.
- Knead the Dough: Transfer the dough onto a floured surface and knead it for about 5 minutes until it’s smooth and elastic.
- Let it Rise: Place the dough in a lightly greased bowl, cover it with a clean kitchen towel and let it rise in a warm place for about 30 minutes or until it has doubled in size.
- Shape the Breadsticks: Preheat your oven to 400°F (200°C). Roll out the dough to a rectangle about ½ inch thick. Cut into strips, then transfer to a greased baking sheet.
- Add Garlic Butter: In a small bowl, mix melted butter and garlic powder. Brush this mixture generously over the dough strips.
- Top with Cheese: Sprinkle the shredded mozzarella and Parmesan cheeses evenly across the dough.
- Bake: Place the baking sheet in the preheated oven and bake for about 15 minutes, or until the breadsticks are golden brown and the cheese is bubbly.
- Garnish and Serve: Once done, remove from the oven, garnish with fresh parsley, slice into individual sticks, and serve warm with your favorite sauce!
Top Tips for Perfecting Cheesy Garlic Breadsticks
- Cheese Choices: Feel free to experiment with different types of cheese! Monterey Jack or even cheddar can offer interesting flavors.
- Dough Texture: Ensure the dough isn’t too sticky, as it can affect the texture of your breadsticks. A little extra flour can help.
- Make it Spicy: For those who enjoy a kick, don’t hesitate to sprinkle some crushed red pepper flakes over your cheese topping before baking.
Storing and Reheating Tips
To store your leftovers, keep them in an airtight container in the refrigerator for up to 3 days. If you’d like to freeze them, wrap each stick in plastic wrap and place them in a freezer-safe bag for up to 2 months. To reheat, simply pop them in the oven at 350°F (175°C) for about 10-15 minutes, until they’re warmed through and the cheese is melty again. This way, you’ll preserve that delightful texture that made them irresistible in the first place!
By enjoying these Cheesy Garlic Breadsticks, you’re not just filling your stomach; you’re creating memories around the dinner table. So gather your loved ones, make a batch (or two), and relish in the joy they bring!
Cheesy Garlic Breadsticks
Ingredients
Method
- In a bowl, combine warm water, sugar, and instant yeast. Let it sit for about 5-10 minutes until it’s frothy.
- In a large mixing bowl, combine the flour and salt. Create a well in the center and add the yeast mixture along with olive oil. Stir until a dough forms.
- Transfer the dough onto a floured surface and knead it for about 5 minutes until it’s smooth and elastic.
- Place the dough in a lightly greased bowl, cover it with a clean kitchen towel, and let it rise in a warm place for about 30 minutes or until it has doubled in size.
- Preheat your oven to 400°F (200°C). Roll out the dough to a rectangle about ½ inch thick. Cut into strips, then transfer to a greased baking sheet.
- In a small bowl, mix melted butter and garlic powder. Brush this mixture generously over the dough strips.
- Sprinkle the shredded mozzarella and Parmesan cheeses evenly across the dough.
- Place the baking sheet in the preheated oven and bake for about 15 minutes, or until the breadsticks are golden brown and the cheese is bubbly.
- Once done, remove from the oven, garnish with fresh parsley, slice into individual sticks, and serve warm with your favorite sauce!