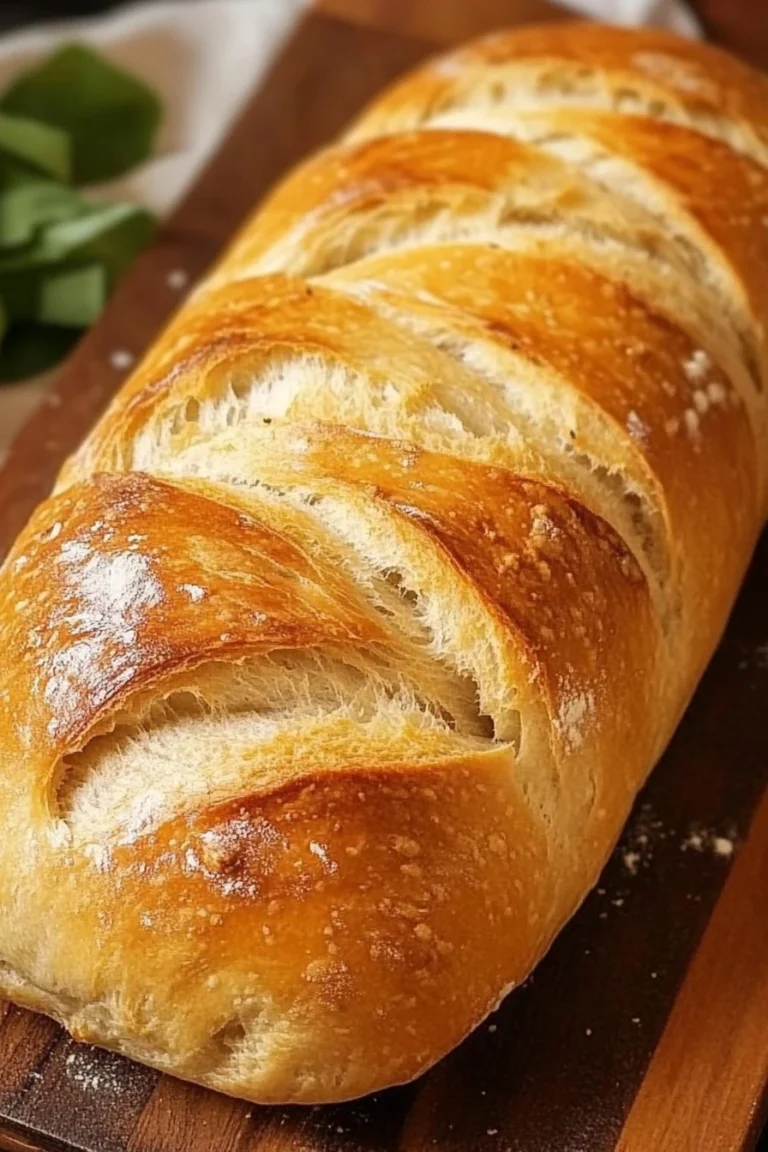
Crispy Baked Cheese & Pepper Taquitos
Are you looking for a simple yet delicious snack that’s sure to please at family gatherings? Look no further! These Crispy Baked Cheese & Pepper Taquitos pack a savory punch with their crispy shells and melty, flavorful interiors. Imagine biting into a golden taquito, bursting with gooey cheese and a medley of vibrant bell peppers. It’s pure comfort food!
When I first experimented with taquitos, I pondered their origins — did they originate from Mexico or maybe even Texas? Regardless, I quickly realized that the way to anyone’s heart is through their stomach! This dish is always a hit, much like my popular Cheesy Vegetable Quesadillas, which are perfect for a weeknight meal or special family evenings.
Let’s dive into the world of flavors with these delightful taquitos that are perfect for any occasion!
What are Crispy Baked Cheese & Pepper Taquitos?
To put it simply, Crispy Baked Cheese & Pepper Taquitos are rolled tortillas filled with a scrumptious mixture of cheese, diced bell peppers, and onions, then baked to golden perfection. But wait—what’s a taquito, you ask? It’s like a crunchy little burrito that your taste buds will adore! Picture a crispy tortilla with a flavor explosion inside. They’re not just a snack; they’re a way to bring people together. Remember, “the way to a man’s heart is through his stomach”! So gather your loved ones and enjoy these irresistible treats. I can’t wait for you to try them!
Why You’ll Love This Crispy Baked Cheese & Pepper Taquitos
Let’s talk about why these Crispy Baked Cheese & Pepper Taquitos will become your new favorite. Firstly, the main dish highlight is its crispy texture combined with the gooey, savory cheese and crunchy bell peppers, creating a wonderful contrast that’s just mouthwatering!
And guess what? Making taquitos at home is a delightful cost-saving option compared to dining out, plus you control the ingredients! You can customize the fillings to your preference without worrying about hidden additives.
To top it off, these taquitos are incredibly versatile when it comes to toppings. Drizzle your favorite salsa, add a dollop of creamy yogurt, or top with fresh avocado. Trust me, once you’ve tasted them, you won’t be able to stop! Experience this culinary joy, and let’s get cooking!
How to Make Crispy Baked Cheese & Pepper Taquitos
Quick Overview
Making Crispy Baked Cheese & Pepper Taquitos is a breeze! With just a handful of ingredients and an easy baking process, you’ll have a satisfying dish in about 30 minutes. Imagine crispy, cheesy morsels that are golden on the outside and bursting with flavor on the inside. Let’s do it!
Ingredients
Here’s what you’ll need to prepare these delightful taquitos:
- 8 corn tortillas
- 1 cup shredded cheese (cheddar or a Mexican blend)
- 1 cup bell peppers (diced)
- 1/2 onion (diced)
- 1 tablespoon olive oil
- 1/2 teaspoon garlic powder
- 1/2 teaspoon cumin
- Salt and pepper to taste
- Cooking spray or additional olive oil for baking
Step-by-Step Instructions
- Preheat the Oven: Begin by preheating your oven to 400°F (200°C). This ensures a crispy outcome.
- Prepare the Filling: In a large bowl, combine the shredded cheese, diced bell peppers, diced onion, olive oil, garlic powder, cumin, salt, and pepper. Mix until everything is well combined.
- Warm the Tortillas: To make them pliable, warm the corn tortillas in a skillet for about 30 seconds on each side or microwave them for 10 seconds. This will prevent them from cracking.
- Assemble the Taquitos: Place 2–3 tablespoons of the filling at one end of a tortilla. Roll it up tightly, then place it seam-side down on a baking sheet. Repeat with all tortillas.
- Bake: Lightly spray the taquitos with cooking spray or brush with a little olive oil. Bake for 15–20 minutes, or until they are crispy and golden.
- Serve and Enjoy: Once baked, allow them to cool for a few minutes before serving. Dive in with your favorite dip or topping!
Top Tips for Perfecting Crispy Baked Cheese & Pepper Taquitos
- Use fresh ingredients: The fresher your veggies and cheese, the better the flavor! Consider trying different types of cheese for more variety.
- Avoid Overstuffing: Resist the urge to add too much filling. Overstuffed taquitos can burst while baking!
- Experiment with Seasonings: Try adding spices like paprika, or a dash of chili powder for a kick.
- Time it Right: Keep an eye on the taquitos while baking. Ovens vary, and you don’t want them to burn!
- Flavorful Substitutions: You can replace bell peppers with jalapeños for heat or add black beans for an even heartier filling.
Storing and Reheating Tips
These Crispy Baked Cheese & Pepper Taquitos can be stored with ease! Keep them in an airtight container in the refrigerator for up to 3 days or freeze them for longer storage—up to 2 months.
To reheat, simply bake them in a preheated oven at 350°F (175°C) for about 10–15 minutes or until heated through and crispy again. You can also use an air fryer for a delightful crunch!
Now that you have the recipe for Crispy Baked Cheese & Pepper Taquitos, it’s time to gather your family and get cooking! Enjoy the joy of creating delicious moments together, and don’t forget to experiment with your favorite toppings. Happy cooking!

Crispy Baked Cheese & Pepper Taquitos
Ingredients
Method
- Preheat the Oven: Begin by preheating your oven to 400°F (200°C).
- Prepare the Filling: In a large bowl, combine the shredded cheese, diced bell peppers, diced onion, olive oil, garlic powder, cumin, salt, and pepper. Mix until well combined.
- Warm the Tortillas: Warm the corn tortillas in a skillet for about 30 seconds on each side or microwave them for 10 seconds to prevent cracking.
- Assemble the Taquitos: Place 2–3 tablespoons of the filling at one end of a tortilla. Roll it up tightly, then place it seam-side down on a baking sheet.
- Bake the Taquitos: Lightly spray the taquitos with cooking spray or brush with a little olive oil. Bake for 15–20 minutes, or until crispy and golden.
- Serve and Enjoy: Allow taquitos to cool for a few minutes before serving with your favorite dip or topping.