
Easy Mummy Brownies | Halloween Party Treat
Overbaked brownies turn dry and crumbly, and piped frosting lines often slide right off a warm surface before they set.
Mummy Brownies for Halloween Party fix both problems with a fudgy brownie base, melted white candy coating, and mini candy eyes, all added once the brownies cool completely. They're built for a classroom party, a lunchbox surprise, or a Halloween spread next to the Halloween Chex Mix with Candy Corn and Pretzels.
| Prep | Cook | Total | Servings | Difficulty |
|---|---|---|---|---|
| 25 min | 27 min | 1 h 52 min | 16 brownies | Medium |
About the Main Ingredient
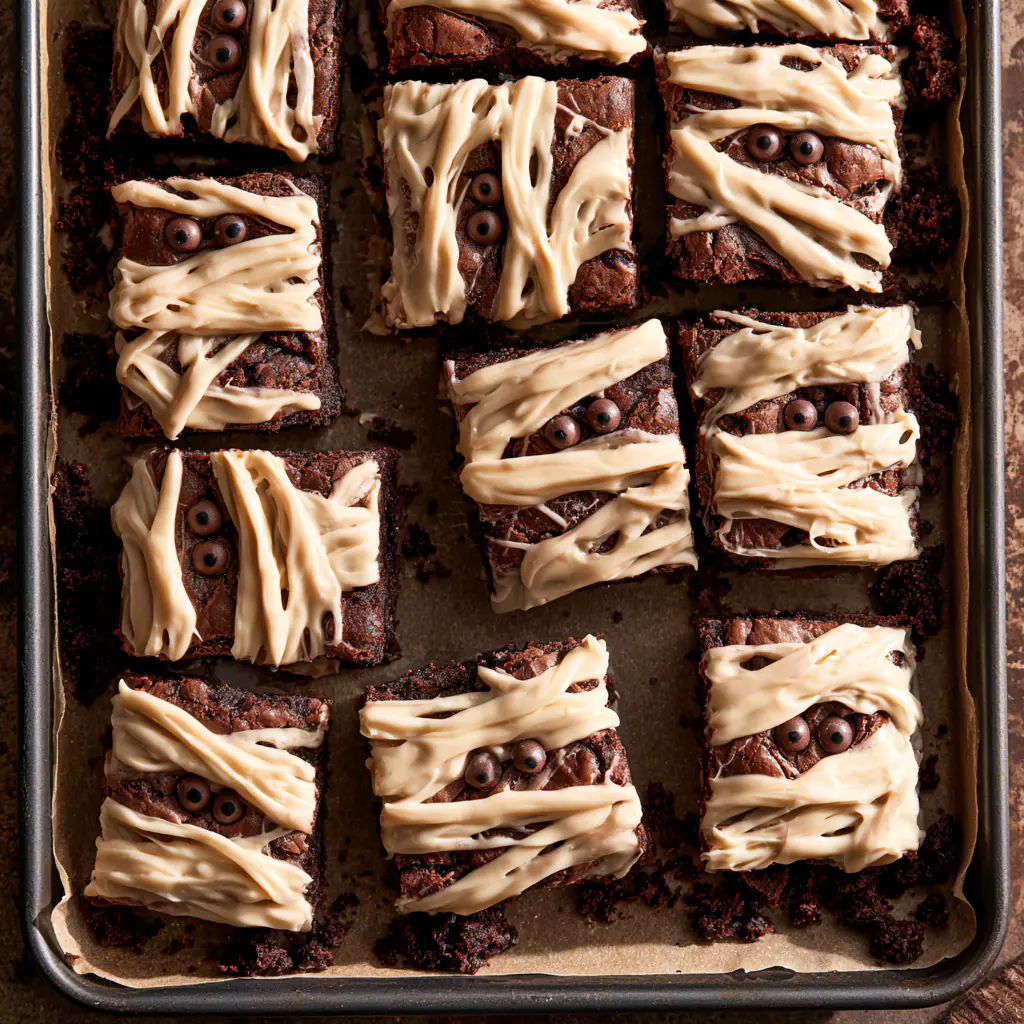
The white candy coating is what turns plain brownies into mummies, so how you melt and pipe it matters more than the brownie recipe itself. Melt it low and slow, in 20-second bursts in the microwave, stirring between each one until it pools smooth and glossy with no lumps. If it looks grainy or stiff, a few drops of vegetable oil loosen it back up. Load it into a piping bag or a zip-top bag with a tiny corner snipped off, then drag thin, uneven strips across the cooled brownie top, leaving small gaps for the eyes. The strips should hold their shape right away and set firm within a few minutes at room temperature, not pool flat or run off the edges.
Mummy Brownies Ingredients
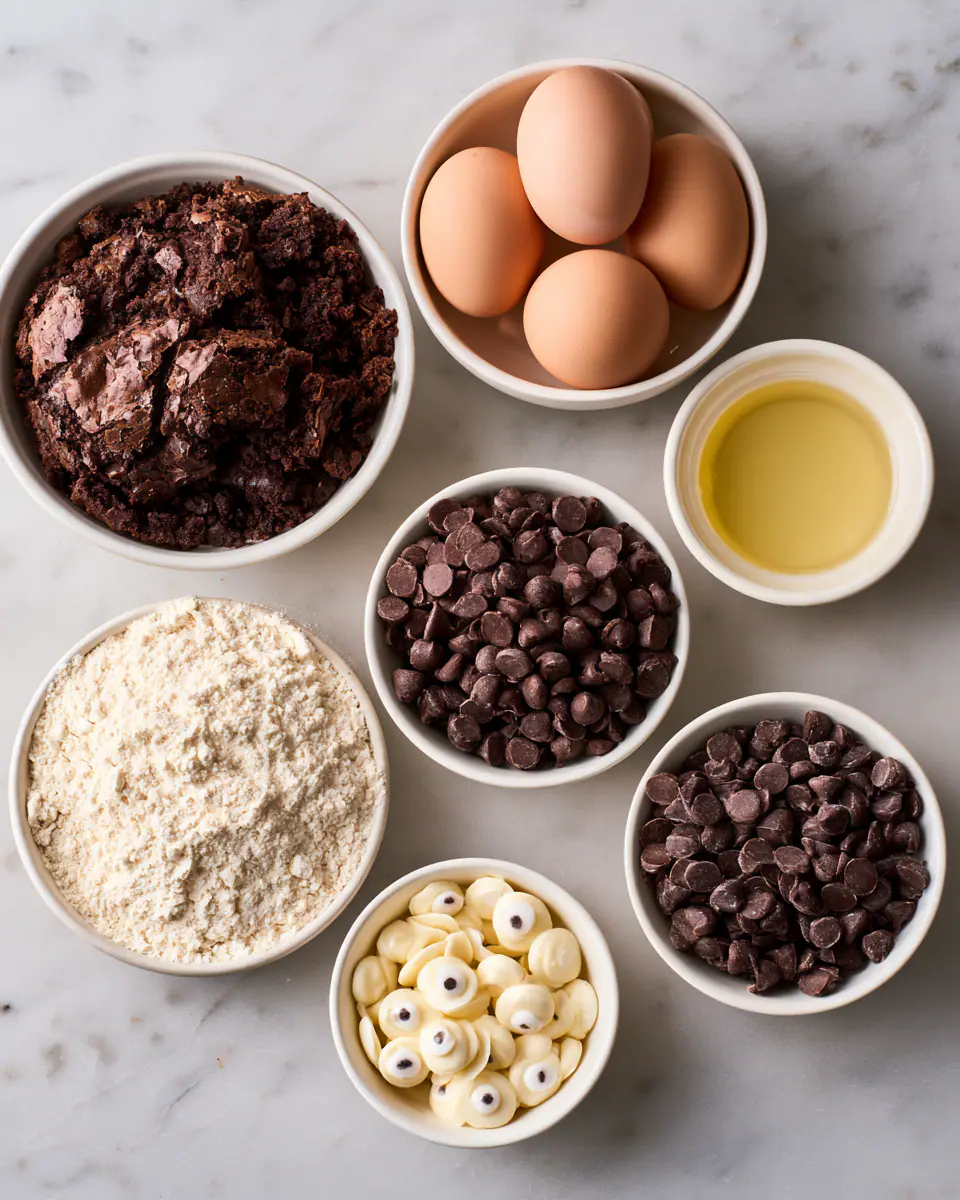
- Brownie mix or scratch batter: gives the fudgy, dense base; a boxed mix saves time, or use a from-scratch batter if you prefer deeper chocolate flavor
- Eggs: bind the batter and give the brownies structure
- Vegetable oil: keeps the crumb moist and chewy; swap in melted butter for a richer, more cake-like bite
- Water: thins boxed mix batter to the right pourable consistency
- Semisweet chocolate chips: add pockets of melted chocolate throughout, optional but worth it
- White candy melts: form the mummy's bandage strips once piped and set; white chocolate chips work if melted gently with a bit of shortening
- Mini candy eyes: the finishing detail that makes each brownie look like a mummy face; black decorating gel dots are an easy stand-in
- Vegetable oil (small amount): thins the candy coating for easier piping
Exact amounts and baking time are in the recipe card below.
How We Make Mummy Brownies
- Mix the batter. Whisk eggs, oil, and water, then fold in the brownie mix and chocolate chips until just combined and no dry streaks remain.
- Bake until set. Pour into a lined 9×13-inch pan and bake until the top looks matte and a toothpick comes out with a few moist crumbs, about 25 to 28 minutes.
- Cool completely. Let the pan sit at room temperature for a full hour before cutting into squares; warm brownies melt the candy coating on contact.
- Melt the candy coating. Microwave the white candy melts in 20-second bursts, stirring each time, until smooth and pourable.
- Pipe the bandages. Drag thin strips of melted coating across each brownie square, crisscrossing them and leaving two small gaps near one end for the eyes.
- Add the eyes and let set. Press two mini candy eyes into the gaps while the coating is still soft, then let the brownies sit for 10 to 15 minutes until the coating firms up completely.
If You Want to Change It
- Swap the mix: use a gluten-free brownie mix for guests avoiding wheat; bake time stays about the same.
- Go darker: skip the white candy coating for dark chocolate drizzle, then add the eyes directly for a different mummy look.
- Add a swirl: ripple a few tablespoons of peanut butter through the batter before baking for a nuttier, richer bite.
What Can Go Wrong (and How to Fix It)
- Piping too early: if the brownies are still warm, the coating slides right off; wait the full hour to cool.
- Seized candy melts: a drop of water turns smooth coating grainy and stiff; keep your bowl and spoon completely dry.
- Overbaked brownies: pull them at the first sign of moist crumbs on a toothpick, since a few extra minutes dries them out.
- Eyes sliding off: press them in while the coating is still soft, within a minute or two of piping, not after it sets.
- Clumpy bandage lines: thin the coating with a few drops of oil if it drags unevenly instead of flowing in smooth, thin strips.
Common Questions About Mummy Brownies
How do I keep the candy coating bandages from sliding off?
Cool the brownies completely before piping, then press the candy eyes in within a minute or two while the coating is still tacky.
Can white chocolate chips replace candy melts?
They can, though white chocolate chips need a teaspoon of shortening or oil stirred in while melting to pipe smoothly without seizing.
Why did my melted candy coating turn grainy?
A single drop of water hitting the coating causes it to seize and stiffen; keep your bowl, spoon, and hands dry while melting.
How far ahead can I make mummy brownies for a Halloween party?
Bake and decorate them up to two days ahead, then store in an airtight container at room temperature so the coating stays set.
Mummy Brownies for Halloween Party
Ingredients
Method
- Preheat and line pan: Preheat the oven to 350°F and line a 9x13-inch baking pan with parchment paper, leaving an overhang on two sides for easy lifting.
- Mix the wet ingredients: In a large bowl, whisk the eggs, vegetable oil, and water together until smooth and slightly foamy.
- Add the brownie mix: Fold in the brownie mix and chocolate chips, stirring just until no dry streaks remain; avoid overmixing so the brownies stay fudgy.
- Bake the brownies: Pour the batter into the prepared pan and spread it evenly. Bake for 25 to 28 minutes, until the top looks matte and a toothpick comes out with a few moist crumbs.
- Cool completely: Let the brownies cool in the pan on a wire rack for a full hour before cutting; this keeps the candy coating from melting in the next step.
- Cut into squares: Lift the cooled brownies out using the parchment overhang and cut into 16 even squares on a cutting board.
- Melt the candy coating: Place the white candy melts and 1 teaspoon of vegetable oil in a microwave-safe bowl. Microwave in 20-second bursts, stirring between each, until smooth and pourable.
- Load the piping bag: Transfer the melted coating to a piping bag or a zip-top bag with a small corner snipped off.
- Pipe the bandages: Drag thin, uneven strips of coating across each brownie square, crisscrossing them like bandages and leaving two small gaps near one end for the eyes.
- Add the candy eyes: While the coating is still soft, press two mini candy eyes into the gaps on each brownie square.
- Let the coating set: Let the brownies sit at room temperature for 10 to 15 minutes, until the candy coating firms up completely before serving or stacking.
You Might Also Like
- Mummy Hot Dogs: a savory take on the mummy theme, wrapped in strips of dough instead of candy coating.
- Rice Krispie Treat Pumpkins: Easy Halloween Snack for Kids: a no-bake, chewy snack shaped for the same holiday table.
- Spooky Halloween Eyeball Cheese Ball | Easy Party Appetizer: a savory starter with the same eyeball detail in cheese instead of candy.
- Halloween Appetizer Board with Spooky Meat and Cheese Skewers: a savory spread that pairs well on the same dessert table.


