Sourdough Starter
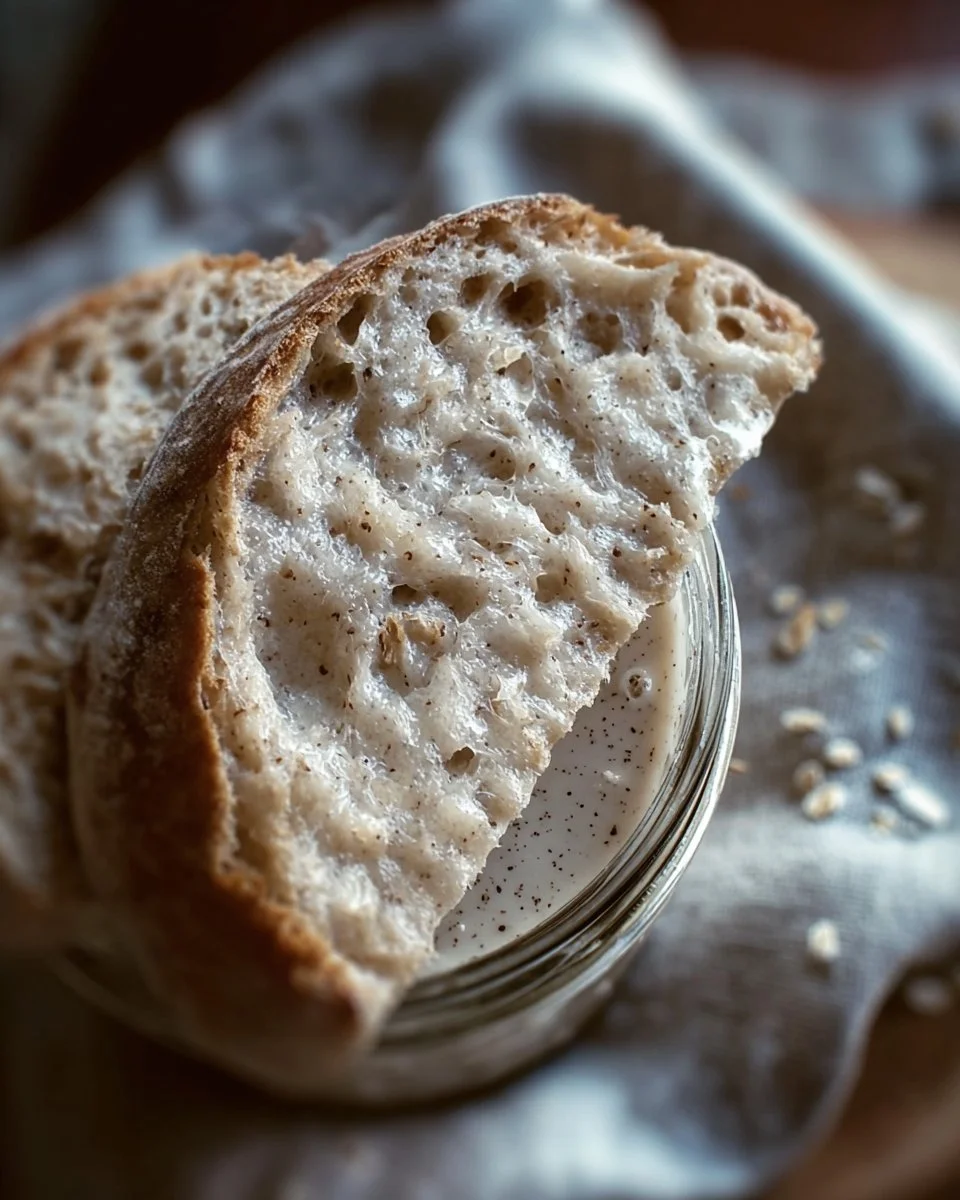
Welcome to the world of homemade bread with a delicious twist! If you’ve ever thought about baking your own loaves, a Sourdough Starter is your best friend. This magical mix of just flour, water, and a little time processes nature’s wild yeast to create a tangy, flavor-packed base for your bread. Did you know that sourdough is one of the oldest forms of grain fermentation, dating back thousands of years? It’s a method that has stood the test of time because of its irresistible taste and impressive texture.
One of the wonderful things about making your own sourdough starter is how simple it is. In just a few days, you can go from a mixture of flour and water to a bubbly, active starter that elevates any bread recipe. Plus, the process can become a fun family activity as each member takes part in nurturing their own little jar of sourdough magic. So, roll up your sleeves and dive into the adventurous world of sourdough. Your family will be thrilled with the delightful breads that come out of your kitchen!
What is Sourdough Starter?
So, what exactly is a Sourdough Starter? Imae a pet that doesn’t need feeding every day, but rather thrives on flour and water! It’s a living culture of yeast and bacteria that helps leaven your bread, giving it that distinctive sour flavor and chewy texture. It’s like a baking helper that’s been passed down through generations. Perhaps you’ve heard the saying, “The way to a man’s heart is through his stomach”? Well, with a sourdough starter, you’re bound to win over everyone in your home!
Curious about how the name came about? Sourdough is aptly named for its tangy, sour taste, which stems from the lactic acid produced by the bacteria during fermentation. With such a fascinating history, you might wonder, why not give it a try? You’ll be glad you did as you watch your starter come to life!
Why You’ll Love This Sourdough Starter
There are plenty of reasons why you should whip up a Sourdough Starter in your kitchen! First and foremost, the highlight of this dish is the incredible flavor it imparts to your baked goods. Imae biting into a crusty loaf of bread with a soft and chewy center—pure bliss! Beyond the deliciousness, making your own starter is cost-effective. Instead of purchasing expensive loaves from the store, you can create your own right at home.
Moreover, the beauty of sourdough starter lies in its versatility. You can use it for a variety of recipes—from crusty artisan loaves to fluffy pancakes. The possibilities are endless! If you enjoy trying different recipes, you’re in for a treat with sourdough. In comparison to quick breads, which may rise from baking soda, sourdough brings in a depth of flavor that is hard to beat. So, why not explore the art of sourdough baking and see what delicious creations await you?
How to Make Sourdough Starter
Quick Overview
Creating your own Sourdough Starter is a rewarding experience that is neither complicated nor time-consuming. With minimal ingredients and a bit of patience, you’ll have a bubbling pot of starter ready to enhance your baking. The process generally takes around 5 to 7 days, but the wait is worth it when you see and smell the beauty of sourdough. Your starter will transform into a lively culture that will rise and fall, showing you its strength and giving you confidence for your baking adventures ahead!
Key Ingredients for Sourdough Starter
- All-Purpose Flour: 100g (or around ¾ cup), prefer organic for the best results.
- Water: 100g (or around ¾ cup, filtered or bottled is ideal).
Step-by-Step Instructions
- Day 1: Mix the Ingredients
In a clean jar, combine 100g of all-purpose flour with 100g of water. Stir well until there are no dry clumps, and cover loosely with a lid or cloth. Leave at room temperature for 24 hours. - Day 2: Check for Bubbles
You may not see many bubbles yet, which is perfectly fine. Discard half of the mixture (about 100g) and add another 100g of flour and 100g of water. Stir well and cover again. - Days 3-7: Continue Feeding
Each day, repeat the process: discard half of the starter before adding equal parts flour and water. You should start to notice more bubbles and a pleasant sour smell developing. - Day 7: Ready to Use
When your starter doubles in size within 4-6 hours of feeding and has a pleasant tart aroma, it’s ready for baking!
Top Tips for Perfecting Sourdough Starter
- Flour Choice: Try experimenting with different types of flour, like whole wheat, to create unique flavors.
- Feeding Schedule: If you aren’t ready to bake right away, store the starter in the fridge and feed it once a week.
- Temperature Matters: Warm environments encourage faster fermentation, so keep your starter in a cozy spot.
Storing and Reheating Tips
If you have extra “Sourdough Starter” that you don’t plan to use immediately, you can keep it in the fridge for up to a week. Just make sure to feed it about once a week to keep it alive. When you’re ready to bake, take it out and give it a few feedings at room temperature to regain its strength. If you have leftover starter after a recipe, you can store it in the fridge as well, feeding it as mentioned. Just be sure to label your jar with the date so you know when it was last fed.
By making your own Sourdough Starter, you’re not only embracing an age-old baking tradition, but you’re also setting the stage for countless delicious, homemade breads. Enjoy the journey of creating, baking, and tasting your very own sourdough treats!
Sourdough Starter
Ingredients
Method
- In a clean jar, combine 100g of all-purpose flour with 100g of water. Stir well until there are no dry clumps, and cover loosely with a lid or cloth. Leave at room temperature for 24 hours.
- You may not see many bubbles yet, which is perfectly fine. Discard half of the mixture (about 100g) and add another 100g of flour and 100g of water. Stir well and cover again.
- Each day, repeat the process: discard half of the starter before adding equal parts flour and water. You should start to notice more bubbles and a pleasant sour smell developing.
- When your starter doubles in size within 4-6 hours of feeding and has a pleasant tart aroma, it’s ready for baking!